Evidence of the large ice storm we experienced this winter was everywhere. Twisted half-broken branches are still dangerously perched up in the trees and the ground is littered with smaller sections we tried to cut and consolidate months ago.
Fortunately, we had the family help organize the yard over Easter. We got the larger branches into manageable piles and even cleared out the front yard flower beds.
Here are some of the problem areas:
In a normal year we would gather up the brush and burn it in our fire pit. We also seem to keep adding to the large brush pile on the far side of the property. We keep telling our neighbor, "This is the year, we are getting rid of that pile!". Yet, somehow it keeps growing... This year we have a different tractic, we got this little guy to help out:
It's a PTO wood chipper. Making our own chips will be a great way to replenish bedding for the flower beds and garden without having to get mulch delivered. Being a 3pt PTO piece of equipment will really help us move it around and take it to the wood rather than hauling all the branches around the yard.
Oh.. and before you ask, yes.. I have seen Fargo.
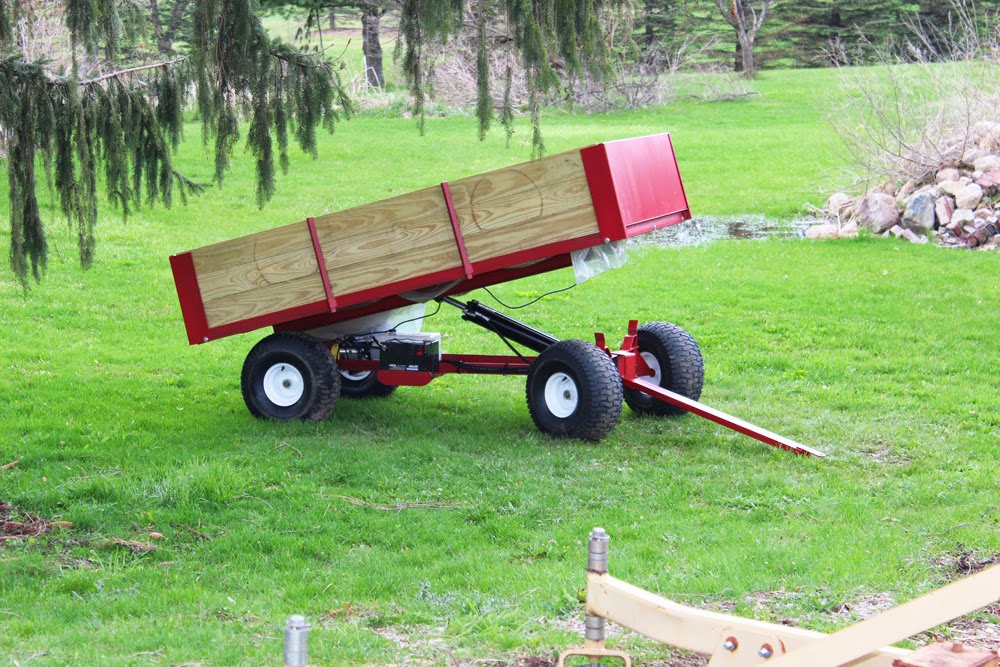
Our other recent project helps out with the product of this whole process. We've been working on a wagon style dump cart to haul the chips and get them closer to their final destination..
I opted to try a 3.5" 2500 psi hydro cylinder. The cylinder is double action but the pump is single acting. This turned out to be a mistake later on as a double acting pump would have been a bit better. The weight of the bed doesn't quite bring it down when fully extended, it needs a little help.
There weren't many options for mounting a pump and battery on the wagon as it comes so I set about welding up some supports. I found these old porch supports laying around the farm and decided to re-purpose them.
This added cross section will support the pump and reservoir. Drilled a couple of holes in the added framing to fit screws into the bottom of the pump housing. Also tied the ground strap to this location.
Next I needed to support the battery. I was out of room in the middle section of the cart so I decided to make a side carriage of sorts.
All the connections were welded with E6011. The tractor and chain were used to hold the frame in some of the more awkward positions for welding.
It's all in there, I think I still need to alter the configuration a bit. I'll probably flip the cylinder (rotate in position) so the hydro hoses loop around front and don't turn so sharp.
I'm also experimenting with some way to keep debris and water off the pump and battery components. I'd like some protection but I'm also afraid of trapping moisture under the bed wood.
Here it is before the final adjustment of the underbelly water protection:
To get the tractor, wagon, and chipper around the yard together I made a custom hitch. The chipper came in a metal crate, I cut up the crate and used the angle iron to fashion a hitch that clips onto the bottom frame of the chipper.
It all works together quite nicely.
With everything ready to roll I set about feeding the chipper. It worked out quite well. You can feed up to an 8" wide log into it. If you can get some of the larger branches trimmed up correctly you can feed what amounts to a small tree into this thing.
Full load after chipping a big pile that was overwhelming the fire pit.
Dumping it near the front yard flower beds. It's interesting backing up a wagon compared to a trailer.
Hydraulics handle it with no strain. Still need to find a way to keep the hydro remote up and out of the way, some sort of clip or cord holder on the side perhaps.
A nice pile for the front flower beds.


