Two of the bedrooms on the second story were outdated and in need of a full remodel. They had old electrical wiring, an odd drop ceiling, peeling pink wall paper, non functional moldy windows, and an unlevel bouncy floor. With baby Ronan on the way and the holidays behind us we started gutting them to make them functional once again.
One of the rooms was being used simply to store "junk" that we didn't have a place for.
Here is the same room cleaned out.
The middle bedroom had some odd construction that needed to be torn out. The exterior walls had been built out to facilitate insulation. To get down to the original studs we took off drywall, some thin backer board, insulation, 1x1 studs, plaster, lathe, shiplap, and then finally whatever sparse insulation there was in between the original studs. Tearing out an exterior wall was like tearing out two. This resulted in a lot of construction debris.
The ceiling light wiring was just above the old dropped ceiling.
We'll have to rewire it from the attic.

There was a hole in the floor and the wall where there may have been an old stove exhaust pipe at one time.
Instead of bringing all the second story waste through the house we threw it out the window into the trailer then packed it into bagster bags for storage until we called in the final dumpster. The 3 yard bagsters were only $25 each and allowed us to move the waste to another area of the yard for sorting and disposal.
We got the rooms down to the original plaster. There were patches in the top portion where someone had tried to shove insulation into the walls. This should work in theory because the house is balloon framed but when we took the plaster and lathe out we found much of the wall sparsely insulated.
You could really feel the outside air rushing in between the old wood clapboard siding during the cold weather.
The old oak shiplap didn't come out easy but it needed to go if we were going to insulate the exterior walls properly. Lot's of sawzall and pry bar work.
This was one of the three old bird nests we found in the walls. They apparently had access to the attic somehow before we did our major renovation years ago.
The pine floor boards must have looked great when they were first installed. Here is the underside of one.
The floor in the end room (junk storage room) was about a 16 foot span done with 2x10 members. Building code specs 2x12 members for that span so we reinforced the floor by sistering 7 lvl boards to the existing joists.
New tab nailed windows were installed. We chose Anderson 400 series since we have those in the house addition and they have worked out quite well.
There was still a lot of work to be done gutting the walls and preparing for insulation and electrical. We found some portions of the wall were missing when we peeled back the painted foam board previously used to finish the rooms.
More surprises behind the walls! The paper wasps had a square hole so they built a cubic nest.
With the rough electrical in it was time to start spraying some foam insulation. We used a closed cell formula for the first coat then followed that up with an open cell foam. The kits we used were from Foam It Green.We added some furring strips to bring the wall back out to match it's original depth.
The rooms had to be at a temperature of about 75-80 degrees to apply the foam. It was a hot summer and I'm sure our energy bill started to come down once we got these rooms sealed up.
After the spray foam was done it was time to hang the wall board.
We backed up the spray foam with some fiberglass to fill any voids.
This is the area where we will install a new closet door.
Since we have tall people in our family we notched the rafters above the new door location and installed a raised header to ensure the final door placement is acceptable.
Let the mud fest begin. Layering in and leveling all the voids, cracks, and gaps is a tedious process.
More patching along with securing the HVAC from the attic.
This is the start of the skim coating process on the ceiling.
Finishing up the ceiling skim coat with some heavy mud action around the HVAC.
The closet had it's own false ceiling we added some 1/4" drywall where heavy patches were needed to level out the walls.
We used maple to make some custom window stools and extension jambs for the windows.
Getting some primer on the walls really brings out all the tiny flaws that still need work.
The basement became the trim workshop.
Laid it out to get two coats of paint on before installation.
Setting some straight trim next to the wall revealed a huge dip in the drywall so we had to do a monster patch job to flatten it out.
In the middle bedroom we went with a grey color to contrast the white trim.
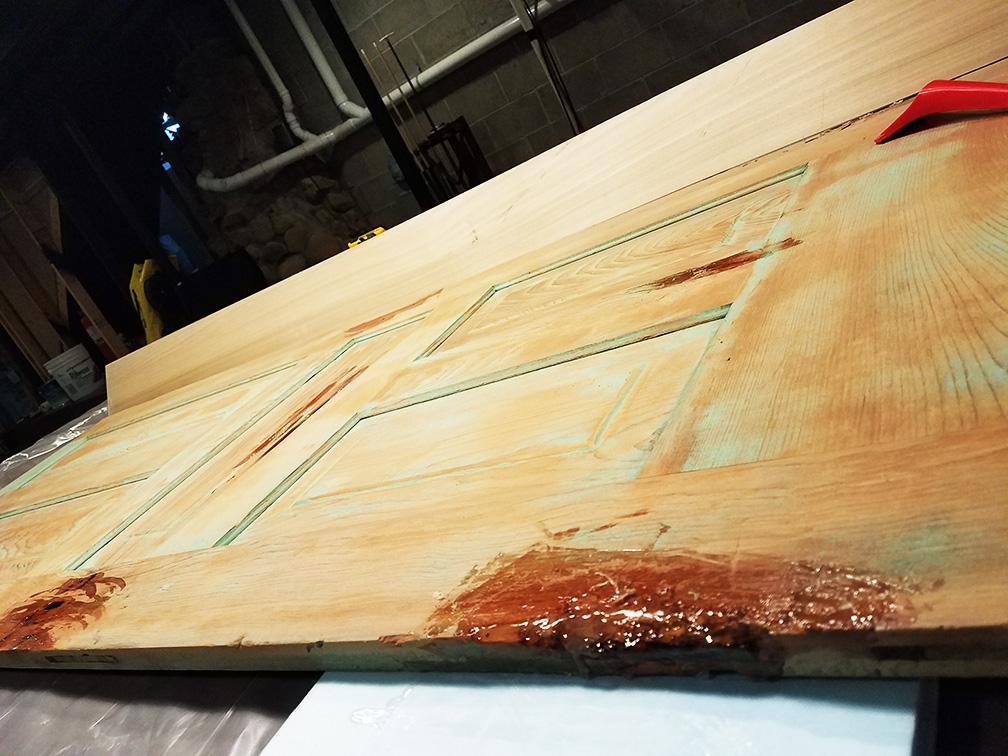
We'll come back to the room doors at some point so they are no longer pink and off white.
In the east room we decided to make a bold color choice. We usually stick to white and greys but decided to take a risk and see how some green works out.
We finished up the trim and were waiting for the carpet installation at this point.
The carpet was installed and the kids were very anxious to move in right away.
At this point we still need to put curtains up and paint some doors but the rooms were functional again.
How long did it take?
About 16 months working mostly on the weekends while enjoying life's other adventures.
This little guy was born shortly after we started the project.
Hopefully he'll enjoy the view for many years to come.